
This knowledge base article will explain how you can create a server on Devrims in few simple steps.
Login to your Devrims platform using your credentials.
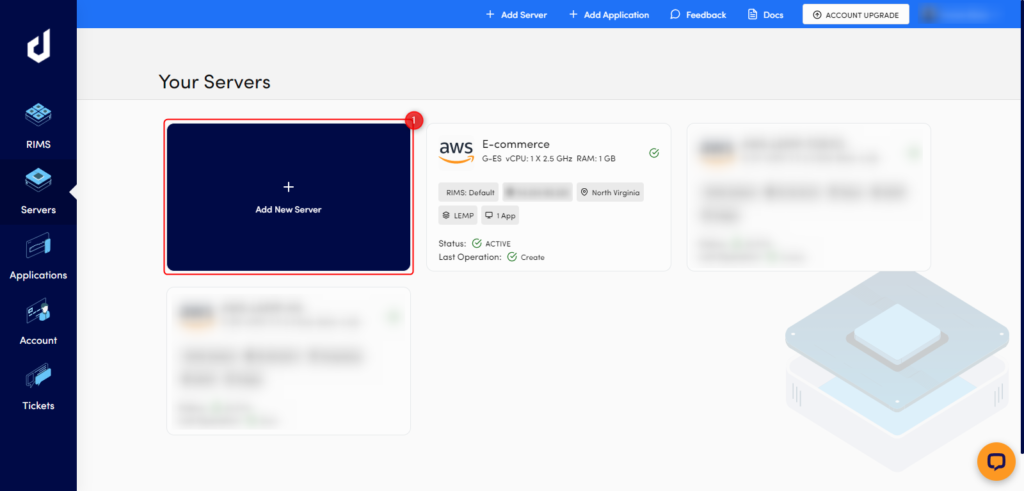
Step # 1: Click on Add New Server.
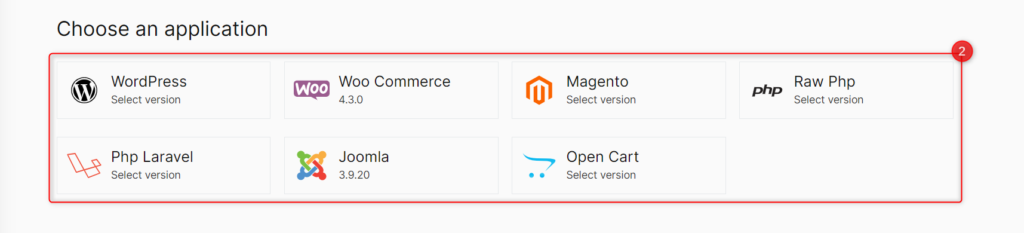
Step # 2: Choose your desired web application and its version.
Step # 3: Choose the Tech Stack of your choice.

Note: Based on your application selection, our system auto-selects the best TECH Stack. You can select any stack manually.
Step # 4: In the next section of Software Services, our system auto-suggests the best combination of software services based on TECH Stack and application.
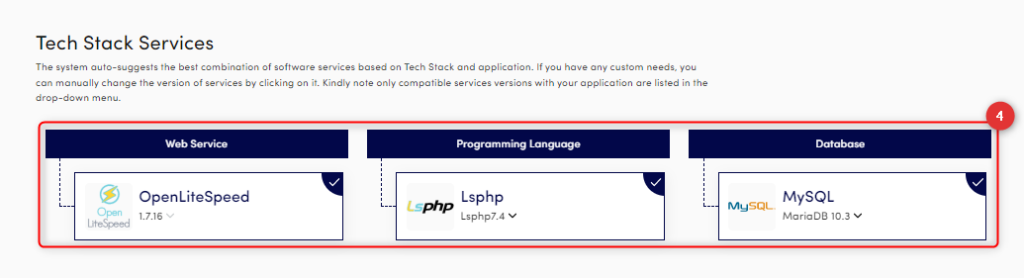
Note: You can manually change PHP and Database versions if needed by clicking on it.
Step # 5: Choose your desired Server Provider.

Note: If you are uncertain which server provider to choose, we have a detailed KB on which infrastructure should I choose that will help you decide.
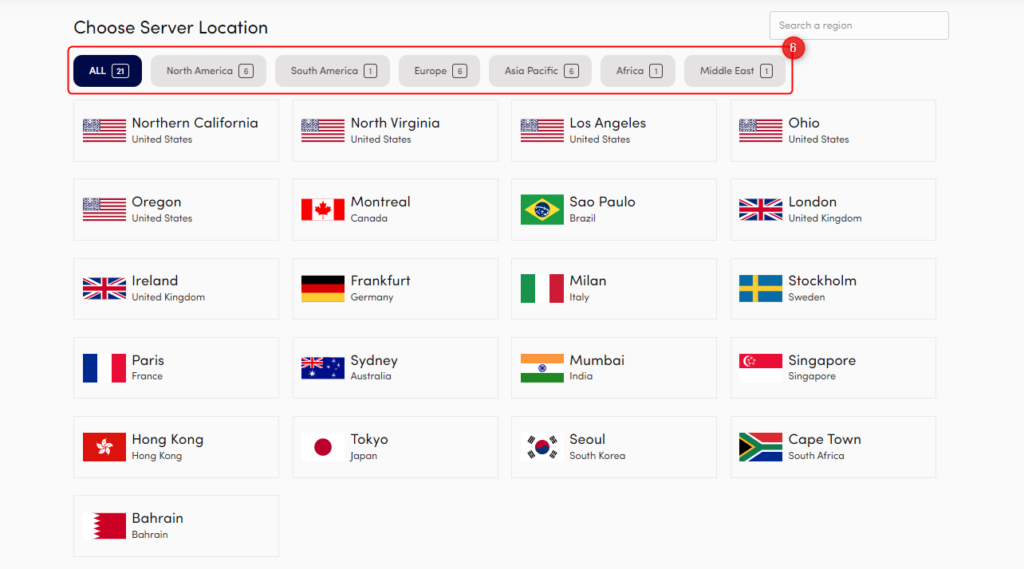
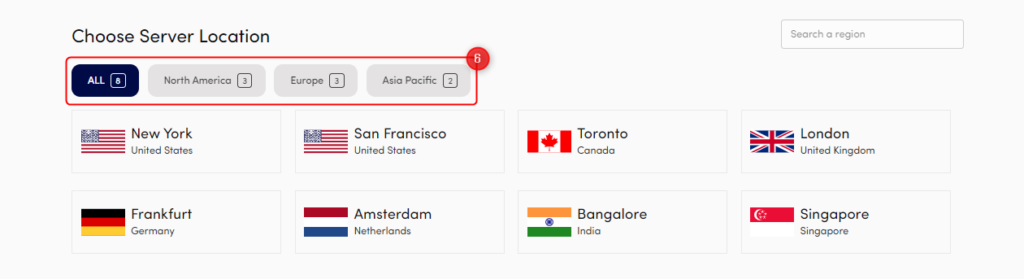
Step # 6: Choose your Server Location.
After selecting the Server Provider, you will have a Server Location list. In this section, you need to click on your desired region.
Below are the server locations list of AWS and Digital Ocean:
Amazon Web Services (21 Locations)
North America: | Northern California (US) | Northern Virginia (US) | Los Angeles (US) | Ohio (US) | Oregon (US) | Montreal (Canada) |
South America: | Sao Paulo (US) |
Europe: | London (UK) | Ireland (UK) | Frankfurt (Germany) | Milan (Italy) | Stockholm (Sweden) | Paris (France) |
Asia Pacific: | Sydney (Australia) | Mumbai (India) | Singapore | Hong Kong | Tokyo (Japan) | Seoul (South Korea) |
Africa: | Cape Town (South Africa) |
Middle East: | Bahrain |
Digital Ocean (8 Locations)
North America: | New York (US) | San Francisco (US) | Toronto (Canada) |
Europe: | London (UK) | Frankfurt (Germany) | Amsterdam (Netherlands) |
Asia Pacific | Bangalore (India) | Singapore |
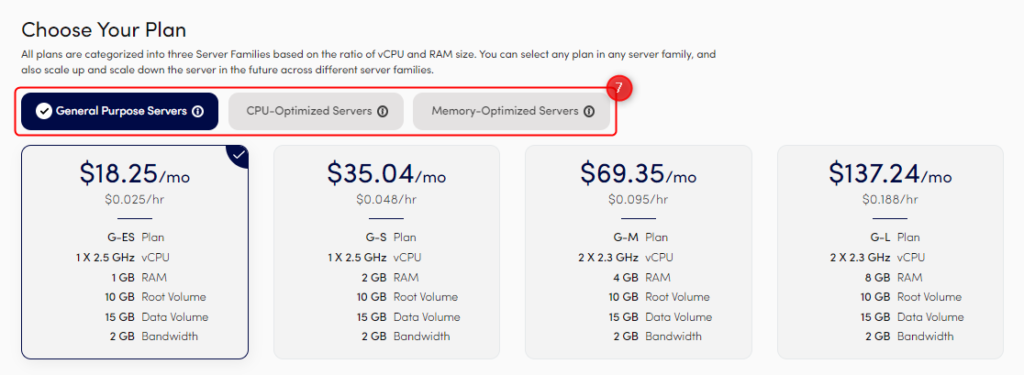
Step # 7: Choose your Server Plan.
All plans are categorized into three Server Families. You can select any plan in any server family.
Below is the short description to help you decide:
- General Purpose Instances:
General Purpose Servers are ideal for the application that requires a balance of vCPU and RAM Memory resources in a 1Core vCPU and 4GB RAM ratio. - CPU-Optimized Instances:
Compute Optimized Servers provide high-performance computing power and design to provide a high number of vCPU cores in a 1Core vCPU and 2GB RAM ratio. - Memory-Optimized Instances:
Memory Optimized Servers designed to provide high RAM for the application to process extensive data set in memory. The ratio between vCPU and RAM Memory is 1core vCPU and 4GB RAM Memory.
Step # 8: Select Data Volume.
By default, we provide 15GB of storage on all the plans. You can increase the data volume at the server creation stage or later from the Servers > Server Scaling tab.

Step # 9: Click Next.
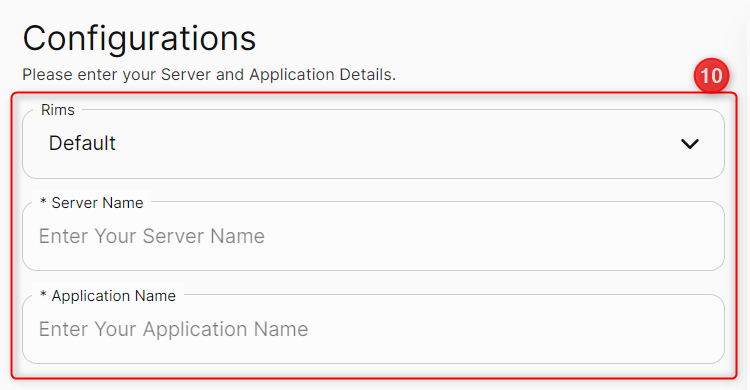
Step # 10: On the next page, enter your server and application details in the Configurations sections.
- RIMS: It’s a grouping of servers that belongs to the same project. The system uses default RIMS, but you can change it from the drop-down menu—all the RIMS of your account are available in the drop-down menu for selection. You can create a new RIM from the RIMS section. After server creation, you can also change the server RIMS at any time.
- Server Name: Give any name to your server.
- Application Name: Give any name to your application.
Step # 11: Set your application admin credentials.
Click on Auto Generate, or you can type your own username and password.
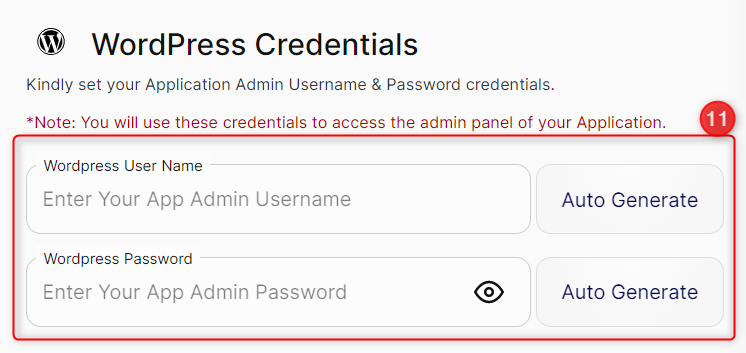
Note: We have selected WordPress in Step # 2 as an example. But, if you select Raw PHP or PHP Laravel, then you will not have this section.
Before proceeding further, you can view all the details in the Summary section.
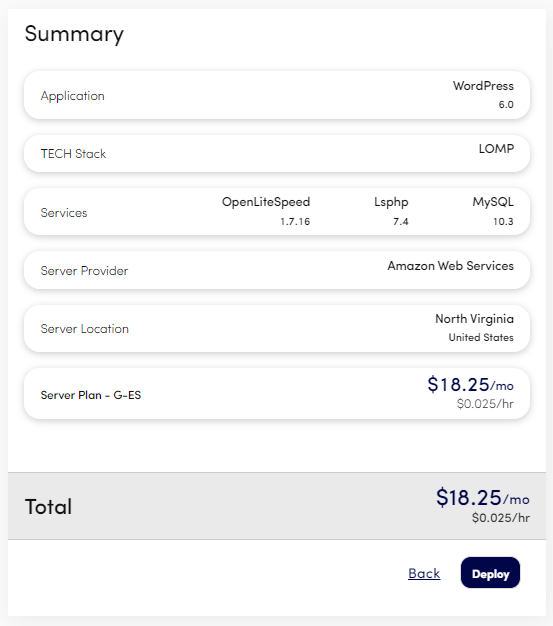
If any modification is required, click Back or click Deploy. We will remove the Terms and Conditions check.
In the next couple of minutes, you will have your own dedicated blazing fast & highly secure managed cloud server.