
phpMyAdmin is a free-to-use and open-source MySQL and MariaDB administration tool. phpMyAdmin is a portable web application written mainly in PHP and designed to handle MySQL administration via a user interface.
phpMyAdmin offers a wide range of MySQL and MariaDB operations. Frequently used activities (managing databases, tables, columns, relations, indexes, users, permissions, and so on) may be conducted using the user interface.
In this knowledge base, we will explain the steps to install phpMyAdmin and connect using database credentials.
1) Requirements of phpMyAdmin
Before proceeding installation process, you must have the below services installed on your Devrims server.
- LAMP or LEMP Stack
- MySQL/MariaDB 5.x Database Service
- PHP 7.1 or higher
- A web browser with JS and Cookie enabled
2) Install PhpMyAdmin
There are two options to install and connect phpMyAdmin either you want to use phpMyAdmin for a particular web application or all the web applications. The steps are the same, but we will guide you in the best-recommended way to do that.
- To proceed with installing phpMyAdmin, you must install the Raw Php application into your Devrims server.
If you need help installing an application, kindly visit how to add an application to your server. In this KB, we have used WordPress as an example, but from Add Application option, you must select Raw PHP 7.1 or higher.
- Once the Raw Php application is installed, connect your server via SSH using Master User or Application User.
Note: You can see the instructions on how to connect your application via SSH and SFTP from our knowledge base article.
- Once the SSH connection is established, go to the public_html folder of your newly installed Raw Php application.
- Go to the phpMyAdmin website and copy the latest link.
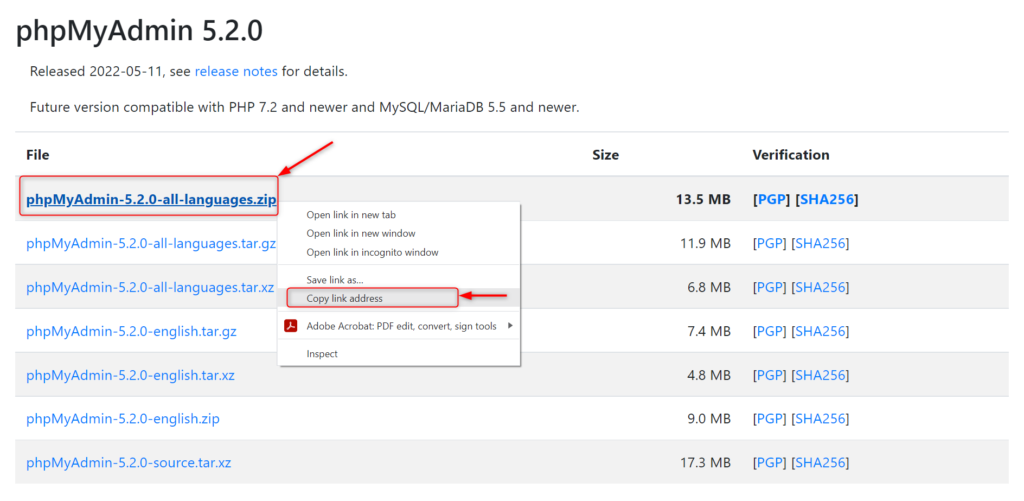
- Go back to the SSH connection and paste the URL followed by the wget command.
wget https://files.phpmyadmin.net/phpMyAdmin/5.2.0/phpMyAdmin-5.2.0-all-languages.zip
- Press Enter (server will download the file).
- Once the file is downloaded 100%, run the following command to unzip the file.
unzip phpMyAdmin-5.2.0-all-languages.zip
- Once the file is extracted 100%, you can see a new folder named phpMyAdmin-5.1.1-all-languages.
- Now run the below command to rename the folder instead of using a complex name.
mv phpMyAdmin-5.2.0-all-languages directoryname
- Go back to your Devrims Dashboard and open the staging URL in the browser of your newly installed application and add /directoryname at the end of the URL.
http://application_staging_url/directoryname
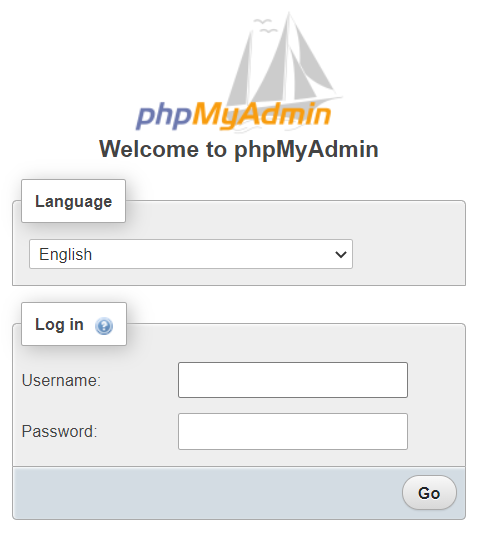
- You will see the PhpMyAdmin login page.
- Go to the Data Sources tab of your Devrims dashboard and click on the drop-down arrow of any database you want to connect via phpMyAdmin.
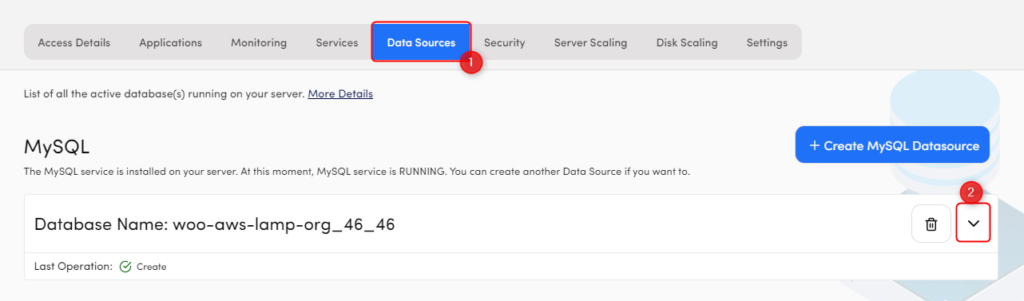
- Copy the username and password and paste them into the PhpMyAdmin login page.

- Congrats! You have successfully connected phpMyAdmin.

Now you can navigate to the Database tables and start working on them.